Marquee tool - to select areas of image (or the whole image) so that can edit or modify that area. It can also be used for copying sections from one part of the image to the other. Also, the marquee tool has a flyout so you can choose different shapes. right click on the marquee tool & the flyout will be shown
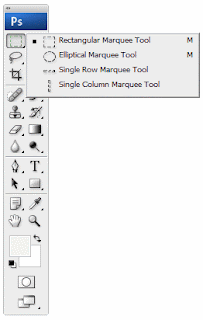 |
Rectangular - creates a rectangular shaped selection
Elliptical - creates a circular or elliptical shaped selection
Single row - creates a selection that is one pixel high across the width of the image
Single column - creates a selection that is one pixel wide across the width of the image |
1. Duplicate
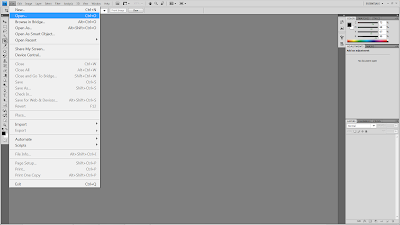 |
| 1. FILE > OPEN |
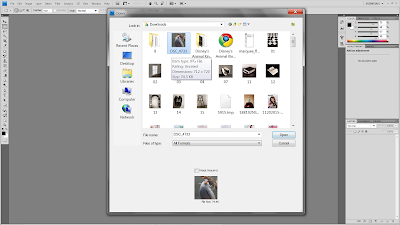 |
| 2. choose file |
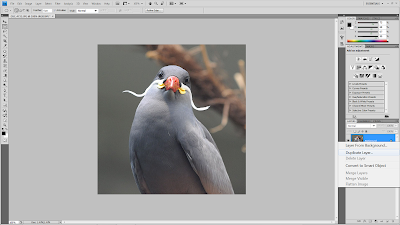 |
| 3. right click on the blue highlighted layer , select duplicate layer |
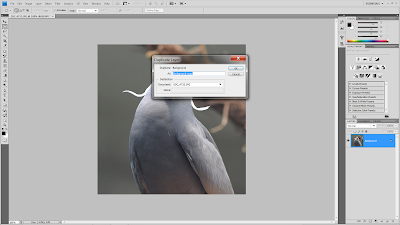 |
| 4. rename the layer |
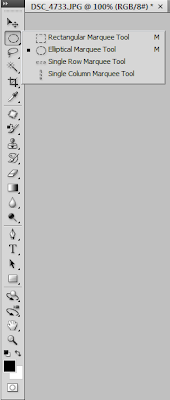 |
| 5. select Elliptical Marquee Tool (right click on the tool) |
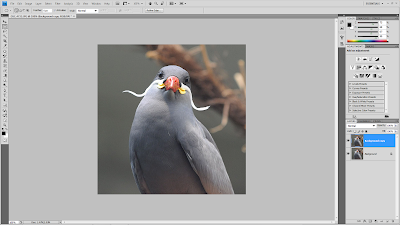 |
| 6. select the area that you want |
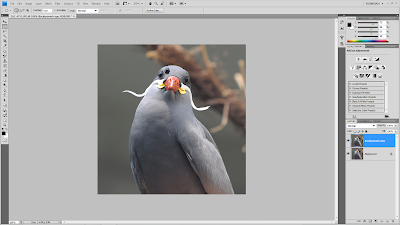 |
7. then hold the Ctrl and Alt keys while pressing the left mouse button on the selected area. as you move your mouse, the selected area will be copied to where you move it.
8. FILE > SAVE AS , rename your file and choose the file format you want to save.
* remember to save as photoshop (PSD, PDD) |
2. Cut and move - select an area, place your mouse inside the marquee. Hold the Ctrl key while holding down the left mouse button. Now move your mouse to move the marquee. the area selected will move and the background color will fill the formerly selected area. 3. Delete - with a marquee selection made, press the Delete key on your keyboard. This will erase the selected part of the image and replace it with the background color. 4. Invert the selection - You can select an area of the image, and then invert that selection by holding down Shift+Ctrl+I (or use the menu Select > Invert ). This is useful if you want to modify most of the image, but leave an area untouched. It's easier sometimes to select the small area, and then invert the selection. 6. Deselect - press Ctrl+D to deselect the area.
7. Select the entire image - To select the whole image, you can either use the rectangular marquee around the extents of the image, or press Ctrl+A.
8 . Adding to the selected area - Hold the Shift key and make another marquee selection (a cross hair and + sign) - it will add to the area selected to overlap the first area, or be a new area.
9. Subtracting from the selected area - Hold the Alt key and make another marquee selection (a cross hair and - sign) - it will subtract from the area selected to overlap the first area.
10. Creating an intersecting selection - Hold the Shift and Alt keys while you are selecting, can select 2 area and the portion that overlaps the 2 will stay selected in the end.
|


